A Guide to Teeth Whitening with Clear Aligners
Yes, you absolutely can whiten your teeth while you’re straightening them with clear aligners. In fact, your aligner trays are basically custom-made whitening trays, holding the gel perfectly against your teeth for an even, consistent result. It’s a brilliant way to multitask your smile makeover, but it must be done with professional guidance to avoid sensitivity and gum irritation.
Your Guide to Whitening Teeth with Clear Aligners
Achieving a brighter, whiter smile while straightening your teeth is one of the smartest ways to boost your final results. The journey to a perfectly aligned smile gives you the perfect opportunity to tackle staining at the same time, using the very aligners you already wear every day.
This guide will walk you through how to whiten your teeth safely and effectively during your clear aligner treatment. It’s not quite as simple as squirting any old whitening gel into your trays; the process needs a bit of know-how and, most importantly, professional oversight to get it right. Without a proper plan, you could end up with patchy results or unnecessary discomfort.
Why Professional Guidance is a Must
Trying to whiten your teeth with aligners without a dentist’s say-so is a common mistake, and a risky one. Here’s why getting a professional involved is non-negotiable.
- Preventing Sensitivity: A dentist can recommend a whitening gel with the right strength for you. They’ll look at your specific needs and choose a concentration of the active ingredient (like Carbamide Peroxide) that minimises the risk of that sharp, painful tooth sensitivity.
- Protecting Your Gums: It’s easy to use too much gel. When you do, it oozes out of the trays and can seriously irritate your gums. A professional will show you exactly how much to use—we’re talking a tiny bead per tooth—to keep your gums safe and healthy.
- Navigating Around Attachments: Lots of clear aligner treatments involve small, tooth-coloured “attachments” or “buttons” bonded to your teeth to help them move. Whitening gel can’t get through these, so the tooth surface underneath won’t lighten. If you whiten with them on, you’ll be left with noticeable darker squares when they’re removed. A dentist helps you time your whitening perfectly to avoid this exact problem.
The whole point is to get a uniformly bright and straight smile. Professional guidance makes sure you get there without harming your oral health or interfering with your orthodontic treatment.
The good news is that modern dental solutions are making this combined approach much simpler. At Toothfairy, for instance, we provide dentist-prescribed whitening kits specifically designed to work safely alongside our virtually monitored aligner treatments. This makes the whole process a smarter and more affordable way to achieve your smile goals than trying to juggle separate appointments at a traditional clinic. As treatments continue to improve, it’s worth keeping up with the latest cosmetic dental trends for clear aligners and whiter teeth to see how these two popular goals are becoming even more intertwined.
When to Whiten: Before, During, or After Your Aligners?
One of the first questions people ask when they’re thinking about straightening and whitening is, “What’s the right order to do things in?” It’s a great question, because the timing really does matter if you want that perfectly even, bright smile at the end.
There’s a good case to be made for whitening before, during, or after your clear aligner journey. Each has its own perks and pitfalls, so let’s break them down to figure out which approach is the best fit for you.
Getting a Head Start: Whitening Before Treatment
Starting with a whitening treatment can feel like a huge win right out of the gate. Seeing that instant brightness can be a fantastic motivator, making you even more excited to commit to wearing your aligners for the recommended 22 hours a day. It’s like a little preview of the amazing smile you’re working towards.
But there’s a catch. Your teeth are about to go on a journey. As they shift into their new, straighter positions, areas of enamel that were once hidden or overlapped will come into view. Those newly exposed surfaces won’t have been touched by the whitening gel, which can lead to patchy, uneven colouring once your teeth are all lined up.
So, while it provides a nice initial boost, it’s usually not the best long-term plan unless you have very minimal crowding.
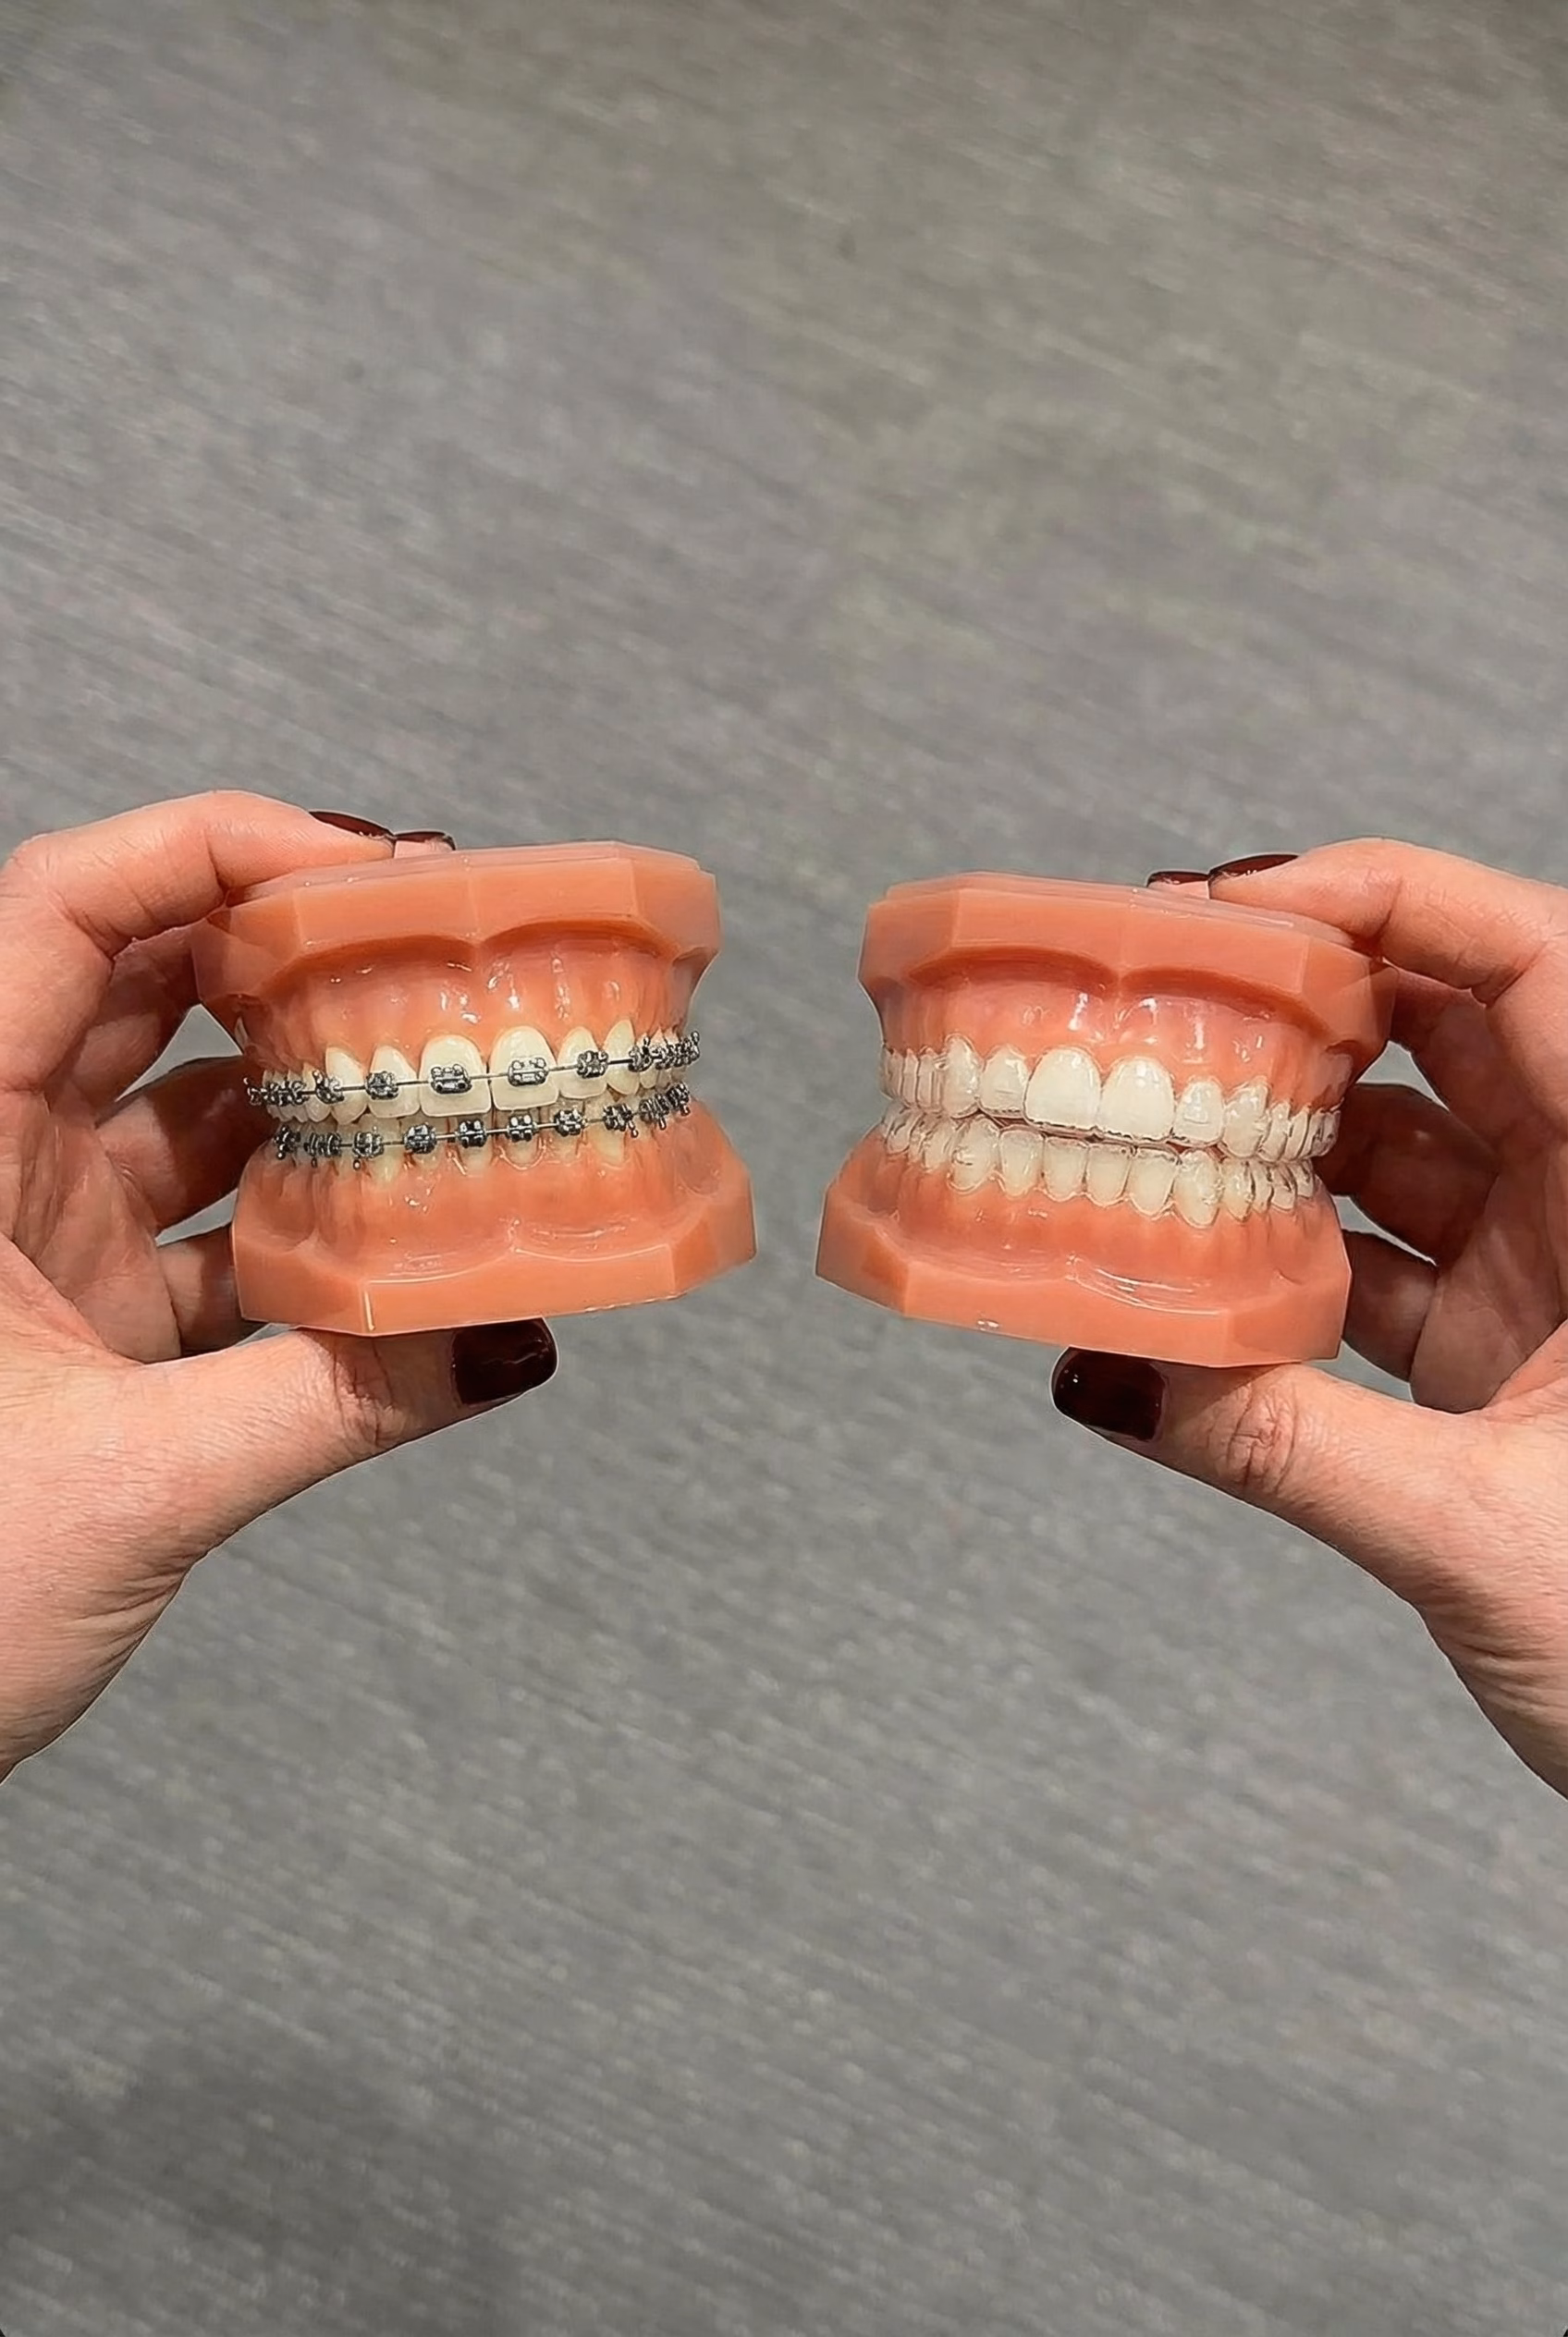
The Most Popular Route: Whitening During Your Aligner Journey
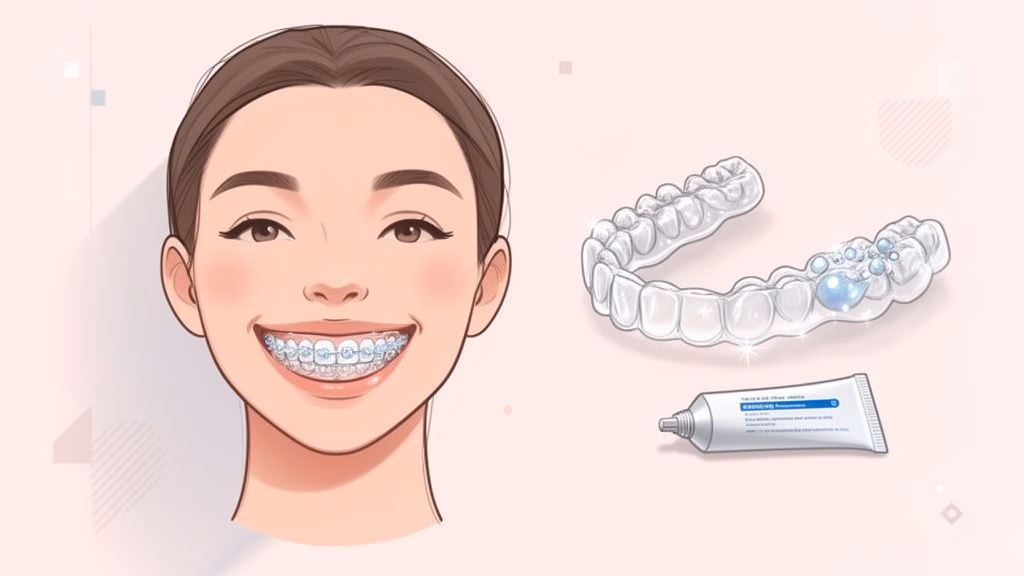
Whitening your teeth while you’re straightening them is easily the most popular and efficient method. Think about it: your aligner trays are already a perfect, custom-moulded fit for your teeth. They essentially double as professional-grade whitening trays, holding the gel right up against the enamel for fantastic results.
This approach is a massive time-saver and slots right into your daily routine. You just pop a tiny bit of dentist-approved whitening gel into the trays and wear them as instructed.
There is one very important thing to consider, though: attachments. These are the small, tooth-coloured dots of composite resin that your dentist might bond to your teeth to give the aligners extra grip for complex movements.
- The Attachment Issue: Whitening gel can’t get through these attachments. This means the little patch of enamel directly underneath them won’t whiten along with the rest of the tooth.
- The Smart Solution: Most dentists will suggest you start whitening during treatment but plan for a quick “touch-up” session right at the end, after the attachments are removed. This easily blends away any “shadows” left behind, giving you a seamless finish.
From my experience, a supervised mid-treatment whitening plan is the sweet spot. It offers maximum convenience and great results, as long as you have a plan for a final touch-up to even everything out.
Using your aligners for whitening, with a dentist guiding the process, is a brilliant and convenient strategy.
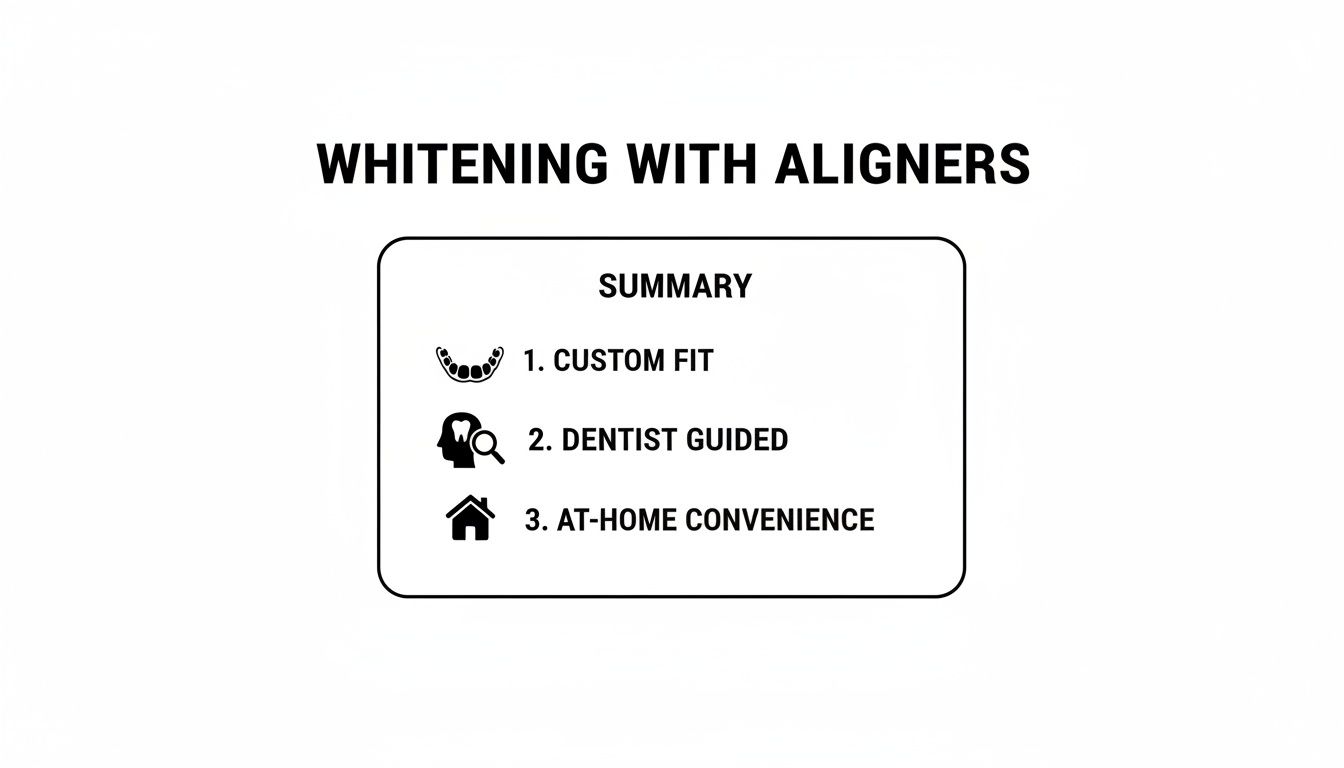
The combination of a bespoke fit, professional oversight, and the comfort of doing it at home makes this a powerful way to achieve your smile goals.
The Finishing Touch: Whitening After Treatment
If you’re aiming for absolute perfection, waiting until your aligner treatment is completely finished is the gold standard. Once your teeth are in their final, straight positions and all attachments have been polished off, every single surface is ready for whitening. This guarantees the most consistent, dazzling result possible.
This is the perfect time to tackle any minor inconsistencies in colour, whether from attachments or from newly revealed enamel. Think of it as the grand finale—the final polish on your beautiful new smile.
The best part? Your final retainers, which are custom-made and look just like your aligners, can often be used for the whitening process. This makes it just as easy as whitening during treatment, but with zero obstacles in the way of a flawless outcome.
Platforms like Toothfairy are great for this, as a dentist can seamlessly guide you from the straightening phase right into the final whitening stage, ensuring your entire smile makeover is professionally managed from start to finish.
Comparing Whitening Timelines With Clear Aligners
To make the decision a little easier, here’s a quick breakdown of the benefits and potential drawbacks of whitening at each stage of your clear aligner journey.
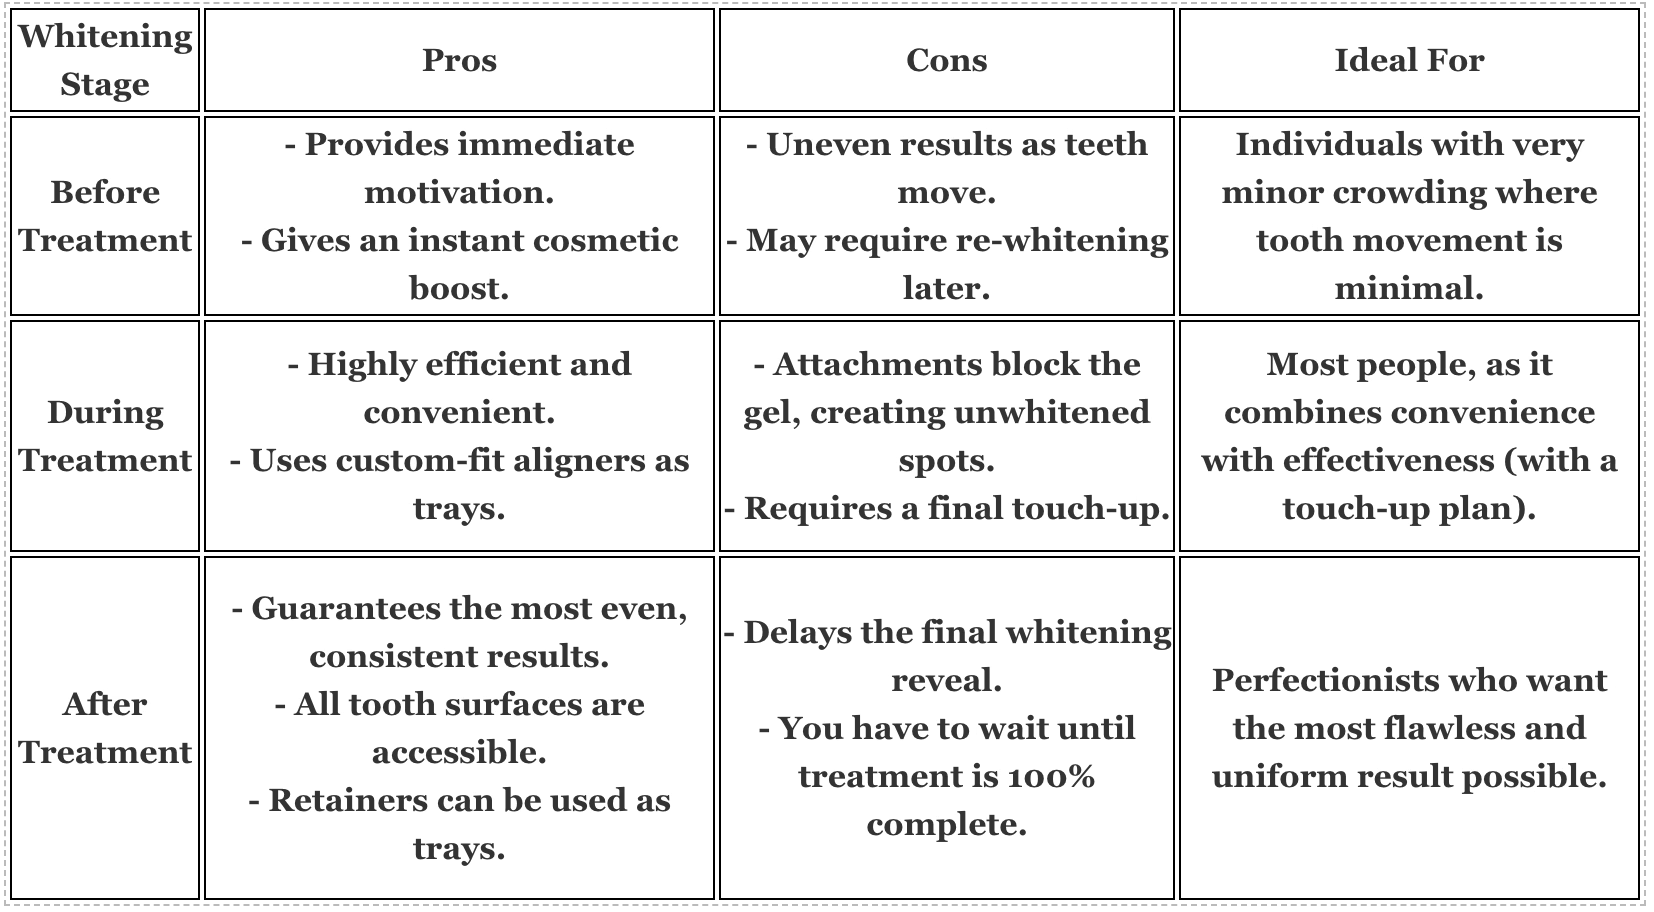
Ultimately, there’s no single “right” answer—it’s about what works for your goals and your specific treatment plan. Discussing these options with your dentist will help you create the perfect timeline for your smile transformation.
How To Choose The Right Whitening Gel For Aligners
Picking the right whitening gel is probably the most critical decision you’ll make when brightening your smile with clear aligners. It’s not just about getting good results; the wrong product can leave you with painful tooth sensitivity and irritated gums. Getting this part right is the key to a successful, comfortable experience.
The demand for a brighter smile has never been higher. Here in the UK, the teeth whitening market hit USD 248.3 million in 2023 and is on track to reach USD 387.3 million by 2030. That’s a huge number, driven by the fact that a whopping 66% of Brits have thought about whitening their teeth. You can read the full research on the UK’s growing demand for teeth whitening to see just how popular it’s become.
With so many options out there, it’s vital to choose a gel that’s both safe and effective, especially when you’re using it inside aligner trays from specific aligner brands.
Carbamide Peroxide vs Hydrogen Peroxide
Look at any professional whitening gel and you’ll find one of two active ingredients: carbamide peroxide or hydrogen peroxide. They both break down stains and lighten your enamel, but they go about it in slightly different ways.
- Hydrogen Peroxide: This is the fast-acting one. It gets to work quickly but also fizzles out just as fast. That’s why it’s typically used for shorter whitening sessions, usually around 30-60 minutes.
- Carbamide Peroxide: This one is much more stable. It breaks down into hydrogen peroxide over a longer period, releasing about 50% of its whitening power in the first two hours and then continuing to work for up to six more. This slow-and-steady approach is ideal for overnight whitening and is generally gentler on teeth, meaning less risk of sensitivity.
For whitening with aligners, most dentists I know, including myself, lean towards carbamide peroxide. Its stable, slow-release formula is a perfect match for the extended wear time of aligner trays.
The Problem With Over-The-Counter Options
I get it, it’s tempting to just grab a whitening kit from the chemist. They’re right there on the shelf and often seem cheaper. But they come with some serious downsides. These products simply aren’t designed for custom-fit aligners. They might have low-strength, ineffective ingredients or, worse, unregulated agents that are far too harsh.
The result? At best, you might get patchy, uneven whitening. At worst, you could be dealing with significant gum inflammation and zinging tooth sensitivity. Professional-grade gels from a dentist are formulated to give you consistent, safe results.
If there’s one thing to remember, it’s this: professional supervision isn’t a luxury; it’s a necessity for safe and effective aligner whitening. A dentist makes sure the gel is right for your dental health, preventing damage and discomfort.
Luckily, modern dentistry has found a way to make this supervision much easier. You no longer have to book a traditional in-person visit just to get the right product.
Services like the Toothfairy app make it incredibly simple to connect with a qualified dentist for cosmetic treatments like teeth whitening, cutting out the hassle of clinic appointments.
Getting The Right Gel Strength For Your Aligners
The concentration, or strength, of the whitening gel is everything. Too weak, and you won’t see a difference. Too strong, and you’ll regret it. For whitening at home with your aligners, dentists will always prescribe gels within a specific, safe range.
From my experience, a 10-16% carbamide peroxide gel is the sweet spot. This concentration delivers brilliant whitening results while being gentle enough for most people to use without any trouble, especially for overnight wear.
Getting a prescription for this kind of professional-grade gel is also easier than ever. With a teledentistry platform like Toothfairy, you can have a virtual chat with a UK-registered dentist who can assess your teeth and prescribe the perfect gel strength for your whitening journey. They can even send it directly to your door, giving you the safety of professional oversight with unbeatable convenience.
Applying Whitening Gel The Right Way
Getting the application technique right is the real secret to a dazzling, even smile without the drama of sensitive teeth or sore gums. It’s a pretty straightforward process, but getting the details spot-on is what separates a great result from a frustrating one. Nailing the technique ensures that professional-grade gel works its magic exactly where you want it, giving you the best possible outcome from your teeth whitening and aligner journey.
Let’s walk through the practical side of things, from getting your teeth ready to what to do afterwards, so you can whiten with total confidence.
Essential Prep Work Before You Start
Before even thinking about the gel, a little prep work goes a long way. Think of it as creating the perfect canvas for a masterpiece.
First, give your teeth a really good brush and floss. You want to clear away any plaque or food debris because the whitening agent needs to make direct contact with your enamel to do its job. Anything left on your teeth will just block it.
Next up, get your aligner trays clean and, crucially, completely dry. Use your usual cleaning method—a soft brush with water or a special aligner cleaner is perfect. Just steer clear of toothpaste, as its abrasiveness can create tiny scratches on the plastic.
Mastering The Gel Application
This is where the mantra “less is more” is absolutely golden. In my experience, the most common mistake people make is using way too much gel, and that’s the number one reason for gum irritation. You only need enough to form a thin film over the front surface of each tooth you’re whitening.
Here’s the best way to do it:
- Grab your dentist-prescribed whitening syringe.
- Carefully place one tiny bead of gel inside each tooth compartment in your aligner tray.
- Focus only on the teeth that show when you smile, which is usually from your first premolar on one side to the first premolar on the other. No need to whiten the molars you can’t see!
When I say a small bead, I really do mean small—think the size of a pinhead. That’s plenty. The gel will spread out once the tray is on. Anything more is a waste of product and an open invitation for gum sensitivity.
Once the gel is in, gently seat the aligner over your teeth until it clicks snugly into place. It should feel just as secure as it does when you’re wearing it throughout the day.
The Crucial Clean-Up Step
It’s almost inevitable that a small amount of gel will squeeze out onto your gums when you place the aligner. You need to get rid of this excess immediately.
Take a clean finger, a cotton bud, or a soft-bristled toothbrush (with no toothpaste on it) and carefully wipe away any gel that’s touching your gumline. This step is non-negotiable. Leaving whitening gel on your gums can cause temporary chemical burns, which show up as white spots and can feel pretty uncomfortable. It only takes a few seconds but makes a world of difference.
Wear Time And Post-Whitening Care
Your dentist will have given you specific instructions for how long to wear your trays, and it’s vital you stick to them. The timing all comes down to the type and strength of the gel.
- Hydrogen Peroxide Gels: These are faster-acting and usually worn for shorter periods, typically around 30-60 minutes a day.
- Carbamide Peroxide Gels: This type releases its whitening agent more slowly, so it’s often prescribed for longer wear times, sometimes a few hours or even overnight.
When your time is up, pop the aligners out and give your mouth a good rinse with water. Hold off on brushing your teeth straight away; your enamel is a little more porous right after whitening, so it’s best to wait at least 30 minutes.
Finally, give your aligner trays a thorough clean to remove any leftover gel before you store them away. This simple routine protects your oral health and keeps your aligners in great shape. By following these dentist-approved steps—perhaps with the added convenience of virtual check-ins from a service like Toothfairy—you can be sure your journey to a brighter smile is both safe and successful.
Common Whitening Mistakes and How to Avoid Them
Knowing what not to do when whitening your teeth with clear aligners is just as important as knowing the right way to do it. It’s easy to make a few common slip-ups, even with the best intentions, which can lead to disappointing results or discomfort. Think of this as your expert guide to sidestepping those potential pitfalls so your journey to a brighter, straighter smile is a smooth one.
We’ll walk through the most frequent mistakes I see in practice, from being a bit too generous with the whitening gel to buying suspect products online, and give you simple, actionable ways to get it right.

Overloading Your Aligners with Too Much Gel
This is, hands down, the most common mistake people make. It’s a logical assumption: more gel must mean whiter teeth, faster. But in reality, the opposite is true. Overfilling your aligner trays just wastes the product and is the number one cause of sore, sensitive gums.
When you pack in too much gel, the excess has nowhere to go but out, squeezing onto your delicate gum tissue. This can cause a temporary chemical burn, leaving you with uncomfortable white patches. Not ideal.
The fix couldn’t be simpler: use only a tiny bead of gel for each tooth. A single pinhead-sized drop placed in the centre of the tooth’s slot is all it takes. Once you pop the aligner in, that small amount will spread perfectly over the tooth’s surface without the messy, painful overflow.
Forgetting About Attachments
Many clear aligner treatments rely on small, tooth-coloured “buttons” or attachments bonded to certain teeth. They act as little handles, giving the aligners the grip needed to make more complex movements. The catch? They also create a barrier that whitening gel can’t get through.
If you whiten consistently while your attachments are on, you’ll be left with small, darker squares on your teeth once they’re removed at the end of your treatment. It creates a sort of polka-dot effect that really undermines all your hard work.
The best way to handle this is to plan for a final “touch-up” whitening round after your aligner journey is finished and the attachments have been polished off. This last step ensures every bit of your tooth surface gets whitened to the same beautiful, consistent shade.
Expecting a perfectly uniform result while attachments are still on is a recipe for frustration. A better strategy is to view whitening during treatment as the main event, and the post-attachment phase as the essential finishing touch.
This approach helps manage expectations and guarantees that flawless final look you’re after.
Using Unverified Whitening Products from the Internet
The online world is swimming with unofficial whitening gels and kits promising miracle results for a bargain price. Buying these is a massive gamble. There’s simply no way to know what ingredients are really in them, what the true peroxide concentration is, or if they were made in a safe, clean environment.
These rogue products can contain dangerously high levels of peroxide or other harsh chemicals that can cause permanent damage to your tooth enamel and gums. They aren’t designed for use with precision-fit aligners and often lead to severe sensitivity and patchy results.
Your only guarantee of safety and effectiveness is to use a dentist-prescribed, professional-grade gel. A qualified dentist will recommend a product with a known, safe concentration that’s right for your specific dental health.
This is where modern dental care really makes a difference. Platforms like Toothfairy offer a smarter, more affordable route to professional supervision. You can have a virtual consultation with a UK-registered dentist, get a prescription for a safe and effective whitening gel, and have it delivered right to your door. This remote monitoring ensures you can achieve your whitening goals without the risks of unverified products.
Your Top Aligner Whitening Questions Answered
When you’re straightening your teeth with a clear aligner system, it’s only natural to wonder if you can brighten your smile at the same time. You’ve got questions, and getting solid, dentist-approved answers is key to feeling confident and getting that brilliant result safely. Let’s dive into some of the most common queries we hear from patients.
Can I Eat or Drink While Whitening With My Aligners?
That’s a definite no. You should never eat or drink anything besides plain water when you have whitening gel in your aligners.
Any food or drink will get in the way of the whitening process, which can lead to patchy, uneven results. Even worse, things like coffee, tea, or red wine can get trapped against your teeth by the aligner, causing major staining—the exact opposite of what you’re trying to achieve.
The rule is simple: finish your whitening session first. Then, take out your aligners, give them a good clean, and only then should you have something to eat or drink.
What Should I Do If My Teeth Become Sensitive?
A bit of sensitivity is pretty common with teeth whitening, and it’s usually mild and doesn’t last long. If you feel a sharp “zing,” it’s often a sign that you’ve used a little too much gel and it’s oozing onto your gums or a sensitive spot.
The first thing to do is simply take a break. Give it a day or two. In the meantime, try using a desensitising toothpaste—look for one with potassium nitrate, as it helps to soothe the nerves inside your teeth. When you start again, be strict about using only a tiny pinhead-sized dot of gel for each tooth. If the sensitivity doesn’t go away, stop and talk to your dentist.
A brief pause is the best first response to sensitivity. It gives your teeth a chance to recover and allows you to adjust your technique. Pushing through the pain can lead to more significant discomfort.
This is where a service like Toothfairy really helps. You can quickly message a qualified dental professional who can give you personalised advice on tweaking your routine safely.
How Long Will My Whitening Results Last?
How long that bright, fresh smile sticks around really varies from person to person. You can typically expect your results to last anywhere from several months up to a few years. It all comes down to your lifestyle and how well you look after your teeth.
To keep your smile gleaming for as long as possible:
- Dodge the stainers: Try to cut back on coffee, tea, red wine, and dark, vibrant sauces.
- Steer clear of smoking: Tobacco is a major cause of tooth discolouration.
- Keep up your hygiene: This means brushing twice a day, flossing daily, and never skipping your regular dental check-ups and cleanings.
Your dentist might also suggest a quick top-up treatment every now and then to maintain that initial brightness, especially if you can’t live without your morning coffee.
Is It Safe To Whiten With Attachments On My Teeth?
Yes, it’s perfectly safe, but it’s not the best idea if you’re aiming for a flawless finish. Those little composite “buttons” on your teeth act as a barrier, so the tooth surface directly underneath them won’t get whitened.
The risk is that when your treatment is done and the attachments are removed, you could be left with small, darker squares on your teeth. It’s for this exact reason that most dentists will tell you to wait. The best time to do your main whitening push is after your aligner journey is complete and all the attachments have been polished away. This ensures you get a beautifully even and consistent colour across every single tooth.
Ready to achieve a straighter, whiter smile with professional guidance every step of the way? Toothfairy offers a smarter and more affordable way to get dentist-prescribed aligners and whitening solutions, all managed virtually for your convenience. Get started on your smile transformation today by visiting us at https://www.toothfairyapp.co.uk.
Last updated on February 14, 2026

Toothfairy Care Team
Toothfairy, is the world's smartest dental app, that connects patients to a dentist for a range of issues, from emergencies, cosmetics, prescriptions to virtual exams.
Toothfairy Care Team
Toothfairy, is the world's smartest dental app, that connects patients to a dentist for a range of issues, from emergencies, cosmetics, prescriptions to virtual exams.