How to Floss Teeth Properly The Ultimate UK Guide
If you’ve ever wondered how to floss properly, it really boils down to one simple technique: take about 45cm of floss, wrap it into a ‘C’ shape around each tooth, and gently guide it just under the gumline. This simple scooping motion is worlds away from just snapping the floss between your teeth, and it’s the secret to clearing out hidden plaque.
Why Flossing Is Your Smile’s Secret Weapon
Let’s be honest, we all know we should floss, but do we really understand why it’s so critical?
Think about it this way: your toothbrush does a brilliant job on the visible surfaces of your teeth—the front, back, and chewing tops. But that’s only about 60% of your tooth’s total surface area. The other 40% is made up of the tight spaces between your teeth and the little pocket just under your gums. Brushing simply can’t get in there.
This is where the real trouble brews. Those hidden gaps are the perfect hiding spot for bits of food and bacteria, which quickly form a sticky, invisible film called plaque. If you leave it alone, that buildup becomes the root cause of most dental problems.
The Unseen Dangers Between Your Teeth
When you skip flossing, you’re essentially leaving the door wide open for some very common oral health issues. The bacteria festering in plaque feast on sugars from your food and drink, producing acid that erodes your tooth enamel. The direct result? Cavities.
It gets worse. Plaque that isn’t removed hardens into tartar, a tough, crusty deposit that only a professional clean can get rid of. This buildup along the gumline irritates the sensitive tissue, causing the inflammation we know as gingivitis. The early signs might seem minor—a bit of redness, some swelling, or bleeding when you brush—but this is the first stage of gum disease.
Flossing isn’t just about dislodging that stubborn bit of spinach from lunch. It’s a crucial preventative act that breaks up harmful bacterial colonies before they can cause long-term damage to your teeth and gums.
More Than Just Fresh Breath
Flossing also plays a huge role in fighting persistent bad breath (halitosis). Those trapped food particles and bacteria left to rot between your teeth are a primary source of unpleasant smells. By clearing them out daily, you remove the source of the odour, leaving you with a fresher mouth and more confidence.
Despite all these benefits, it’s a habit many of us still neglect. In fact, a recent UK survey showed that only 31% of adults floss regularly. That means nearly seven out of ten people are skipping a vital step, leaving themselves vulnerable to decay and gum problems. You can exploring the full UK survey findings to learn more about the nation’s dental habits.
Turning flossing into a simple daily ritual is one of the most powerful things you can do for your overall oral wellness. It’s a cornerstone of a healthy smile, whether you’re looking after your natural teeth or protecting an investment in cosmetic work or aligners. And with accessible services like those from Toothfairy, getting professional guidance for your smile has never been simpler.
Finding Your Perfect Flossing Toolkit
The real secret to making flossing a daily habit isn’t just about discipline; it’s about finding a tool you actually like using. Let’s be honest, staring at the dental care aisle can be a bit much. But all that choice is a good thing—it means there’s a perfect fit for every kind of smile, whether your teeth are tightly packed or you have dental work to navigate.
Trying to force a tool that doesn’t work for you is a recipe for frustration. It leads to shredded floss, sore gums, and that nagging feeling you’re not getting a proper clean. It’s no wonder so many people give up. So, before we even get into technique, let’s find the right instrument for the job.
Traditional String Floss: The Classic Choice
String floss is what most of us picture when we think of flossing, but even this classic comes in a few different flavours. Knowing the difference can make all the experience.
- Unwaxed Floss: This is your basic, thin nylon string. It’s brilliant for people with very tight teeth because it can slip into those tiny spaces without a fight. The downside? It can fray or snap if it catches on a rough filling or a sharp edge.
- Waxed Floss: With a light wax coating, this floss glides between teeth much more smoothly, which really cuts down on shredding. It’s a fantastic all-rounder and probably the best place to start if you’re unsure.
- Dental Tape: Think of this as a broader, flatter version of floss. Its wider surface area is great for anyone with bigger gaps between their teeth, as it cleans more of the tooth surface with every pass.
Ultimately, picking one often comes down to what feels right for your mouth. Don’t be afraid to try a couple to see which one feels the most comfortable and effective.
Floss Picks: The Convenience Factor
If you find wrapping floss around your fingers fiddly and awkward, floss picks (or flossers) can feel like a revelation. These little disposable tools hold a short piece of floss taut, making them incredibly easy to handle, especially when you’re trying to reach your back molars.
Their grab-and-go design makes them perfect for keeping in your bag or at your desk. They’re also a massive help for anyone who struggles with dexterity. The only catch is that you’re using the same bit of floss for your entire mouth, which could move plaque from one spot to another. A quick rinse of the pick between teeth helps minimise this.
Water Flossers: A Modern Approach to Cleaning
Water flossers, also known as oral irrigators, have really changed the game. Instead of scraping away plaque, they use a focused, pulsating stream of water to flush out food, bacteria, and debris from between the teeth and under the gumline.
There’s a good reason this technology has become so popular. The way people floss in the UK is changing, and a recent survey showed a huge number of UK dental professionals now recommend water flossing. It’s a clear sign that we’re recognising traditional floss just isn’t the best option for everyone, especially those with braces, certain aligners, implants, or sensitive gums. You can read more on the growing professional support for water flossing.
A water flosser is a game-changer for cleaning around complex dental work where string floss simply can’t reach. It’s a powerful way to protect your gums and your investment in your smile.
When it comes to picking the right tool, the choice is highly personal. To help you weigh your options, here’s a quick comparison of the most common flossing aids.
Which Flossing Tool Is Right for You?
A comparison of common interdental cleaning tools to help you choose the best option for your dental needs and preferences.
| Tool Type | Best For | Pros | Cons |
| Traditional String Floss | Tight teeth, general use, budget-conscious individuals. | Very effective at scraping plaque, affordable, widely available. | Can be difficult to handle, may shred, can irritate sensitive gums. |
| Floss Picks | Convenience, travel, people with dexterity issues. | Easy to use (especially for back teeth), portable, disposable. | Can spread plaque if not used carefully, less effective at wrapping around the tooth. |
| Water Flosser | Braces, implants, bridges, crowns, sensitive gums. | Excellent for cleaning around dental work, gentle on gums, cleans below the gumline. | Higher initial cost, requires electricity and water, bulkier than other options. |
| Interdental Brushes | Wider gaps, bridges, braces. | Very effective for cleaning large spaces, available in various sizes. | Not suitable for tight spaces, can bend easily, requires replacing the brush head. |
No matter which tool you land on, the most important thing is consistency. The best flossing tool is, without a doubt, the one you’ll actually use every single day.
Personalised care is always the best approach. Here at Toothfairy, our dental professionals can chat with you about your specific needs and help you find the perfect toolkit for your smile, making your daily routine as effective and effortless as possible.
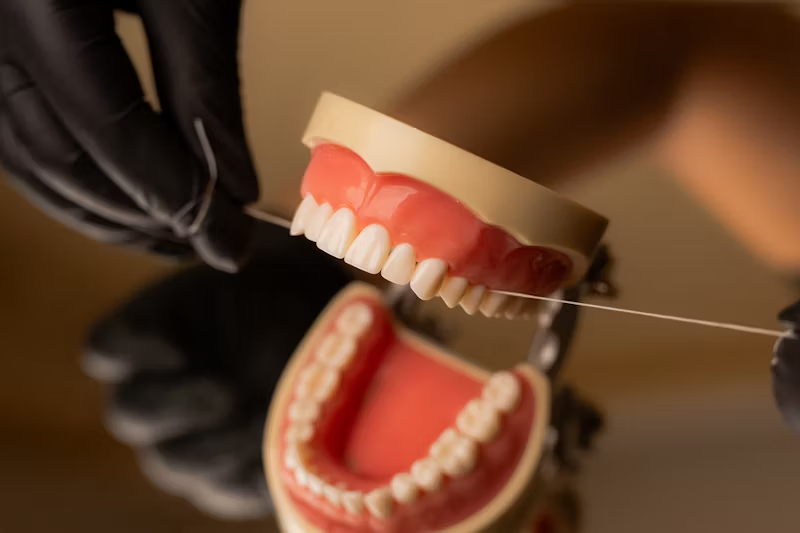
Mastering the C-Shape: The Only Flossing Method You Need to Know
Once you’ve picked out your flossing tool of choice, the real work begins. And here’s a secret many people don’t realise: knowing how to floss properly is far more about finesse than it is about force. Too often, we get into the habit of just snapping the floss down between our teeth. Not only is this rough on your gums, but it also completely misses the most important areas.
The key to a truly deep clean is what we in the dental world call the C-Shape Method. This is the technique we always recommend because it does more than just knock out stray bits of food. It actively scrapes away the sticky, invisible film of plaque that loves to hide on the sides of your teeth and, crucially, just beneath the gumline.
Let’s walk through this simple but incredibly effective motion.
Get the Right Length and A Solid Grip
First off, don’t be stingy with the floss. You’ll want to pull out a good 45 cm (about 18 inches). It sounds like a lot, but you need a fresh section for every single tooth to avoid just shuffling bacteria from one spot to another.
Wrap most of that length around one of your middle fingers, and just a little bit around the other. This little trick frees up your thumbs and index fingers to manage a tight, controlled section of about an inch or two. This grip is what gives you the precision you need to navigate tight spaces.
The Gentle Slide Down
With the floss held taut, guide it to the space between two teeth. Instead of ramming it straight down—which is what causes that painful snap—use a gentle, back-and-forth ‘sawing’ motion. Let the floss glide smoothly through the tight contact point.
This is probably the most common mistake people make. That ‘snap’ can really irritate your gums and lead to bleeding and discomfort over time. The goal is a slow, deliberate movement that works with your teeth, not against them.
Here’s a quick look at the different tools you might have in your flossing arsenal.

While each tool has its own feel, the C-shape principle is the gold standard for getting a truly effective clean with any manual floss.
Curve the Floss to Hug Your Tooth
This is where the magic happens. Once the floss is past that contact point, press it against the side of one tooth and pull it tight, creating a distinct ‘C’ shape. This curve is what allows the floss to wrap around the tooth, making maximum contact with its surface.
Now, while hugging the tooth, slide the floss gently up and down. Make sure you dip just a little bit below the gumline—you’re not trying to scrub aggressively, just wipe the surface clean. You should feel some light pressure, but it should never be painful.
The C-shape is so effective because it cleans the two areas your toothbrush can’t reach: the side of the tooth and the tiny pocket between the tooth and gum, known as the sulcus. This is exactly where the most harmful plaque builds up.
After you’ve cleaned one side, lift the floss back over the contact point, then curve it around the neighbouring tooth and repeat the same up-and-down wiping motion. And don’t forget to unwind a clean section of floss from your finger as you move to the next gap.
Common Flossing Mistakes (And How to Fix Them)
Even when you think you’re doing everything right, it’s easy to fall into a few bad habits. Here are the most common slip-ups I see and how to correct them.
- Aggressive Sawing: A vigorous back-and-forth sawing motion right at the gumline doesn’t clean any better and can easily damage the delicate tissue. The Fix: Once the floss is in place, focus only on a gentle up-and-down wiping motion.
- Reusing the Same Section: Shifting plaque from one area to another defeats the whole purpose of flossing. The Fix: Make it a habit to unwind a fresh piece of floss for each new space between your teeth.
- Forgetting the Back Teeth: It’s so tempting to just do a quick job on the teeth people can see. But your molars are doing the heavy lifting and trapping most of the food. The Fix: Be mindful and make a point of reaching every single tooth, especially the very last one on each side, top and bottom.
Learning how to floss your teeth properly with the C-shape method might feel a bit clumsy for the first few days, but stick with it. It’ll soon become second nature, and this small change in your routine can make a world of difference in preventing cavities and gum disease.
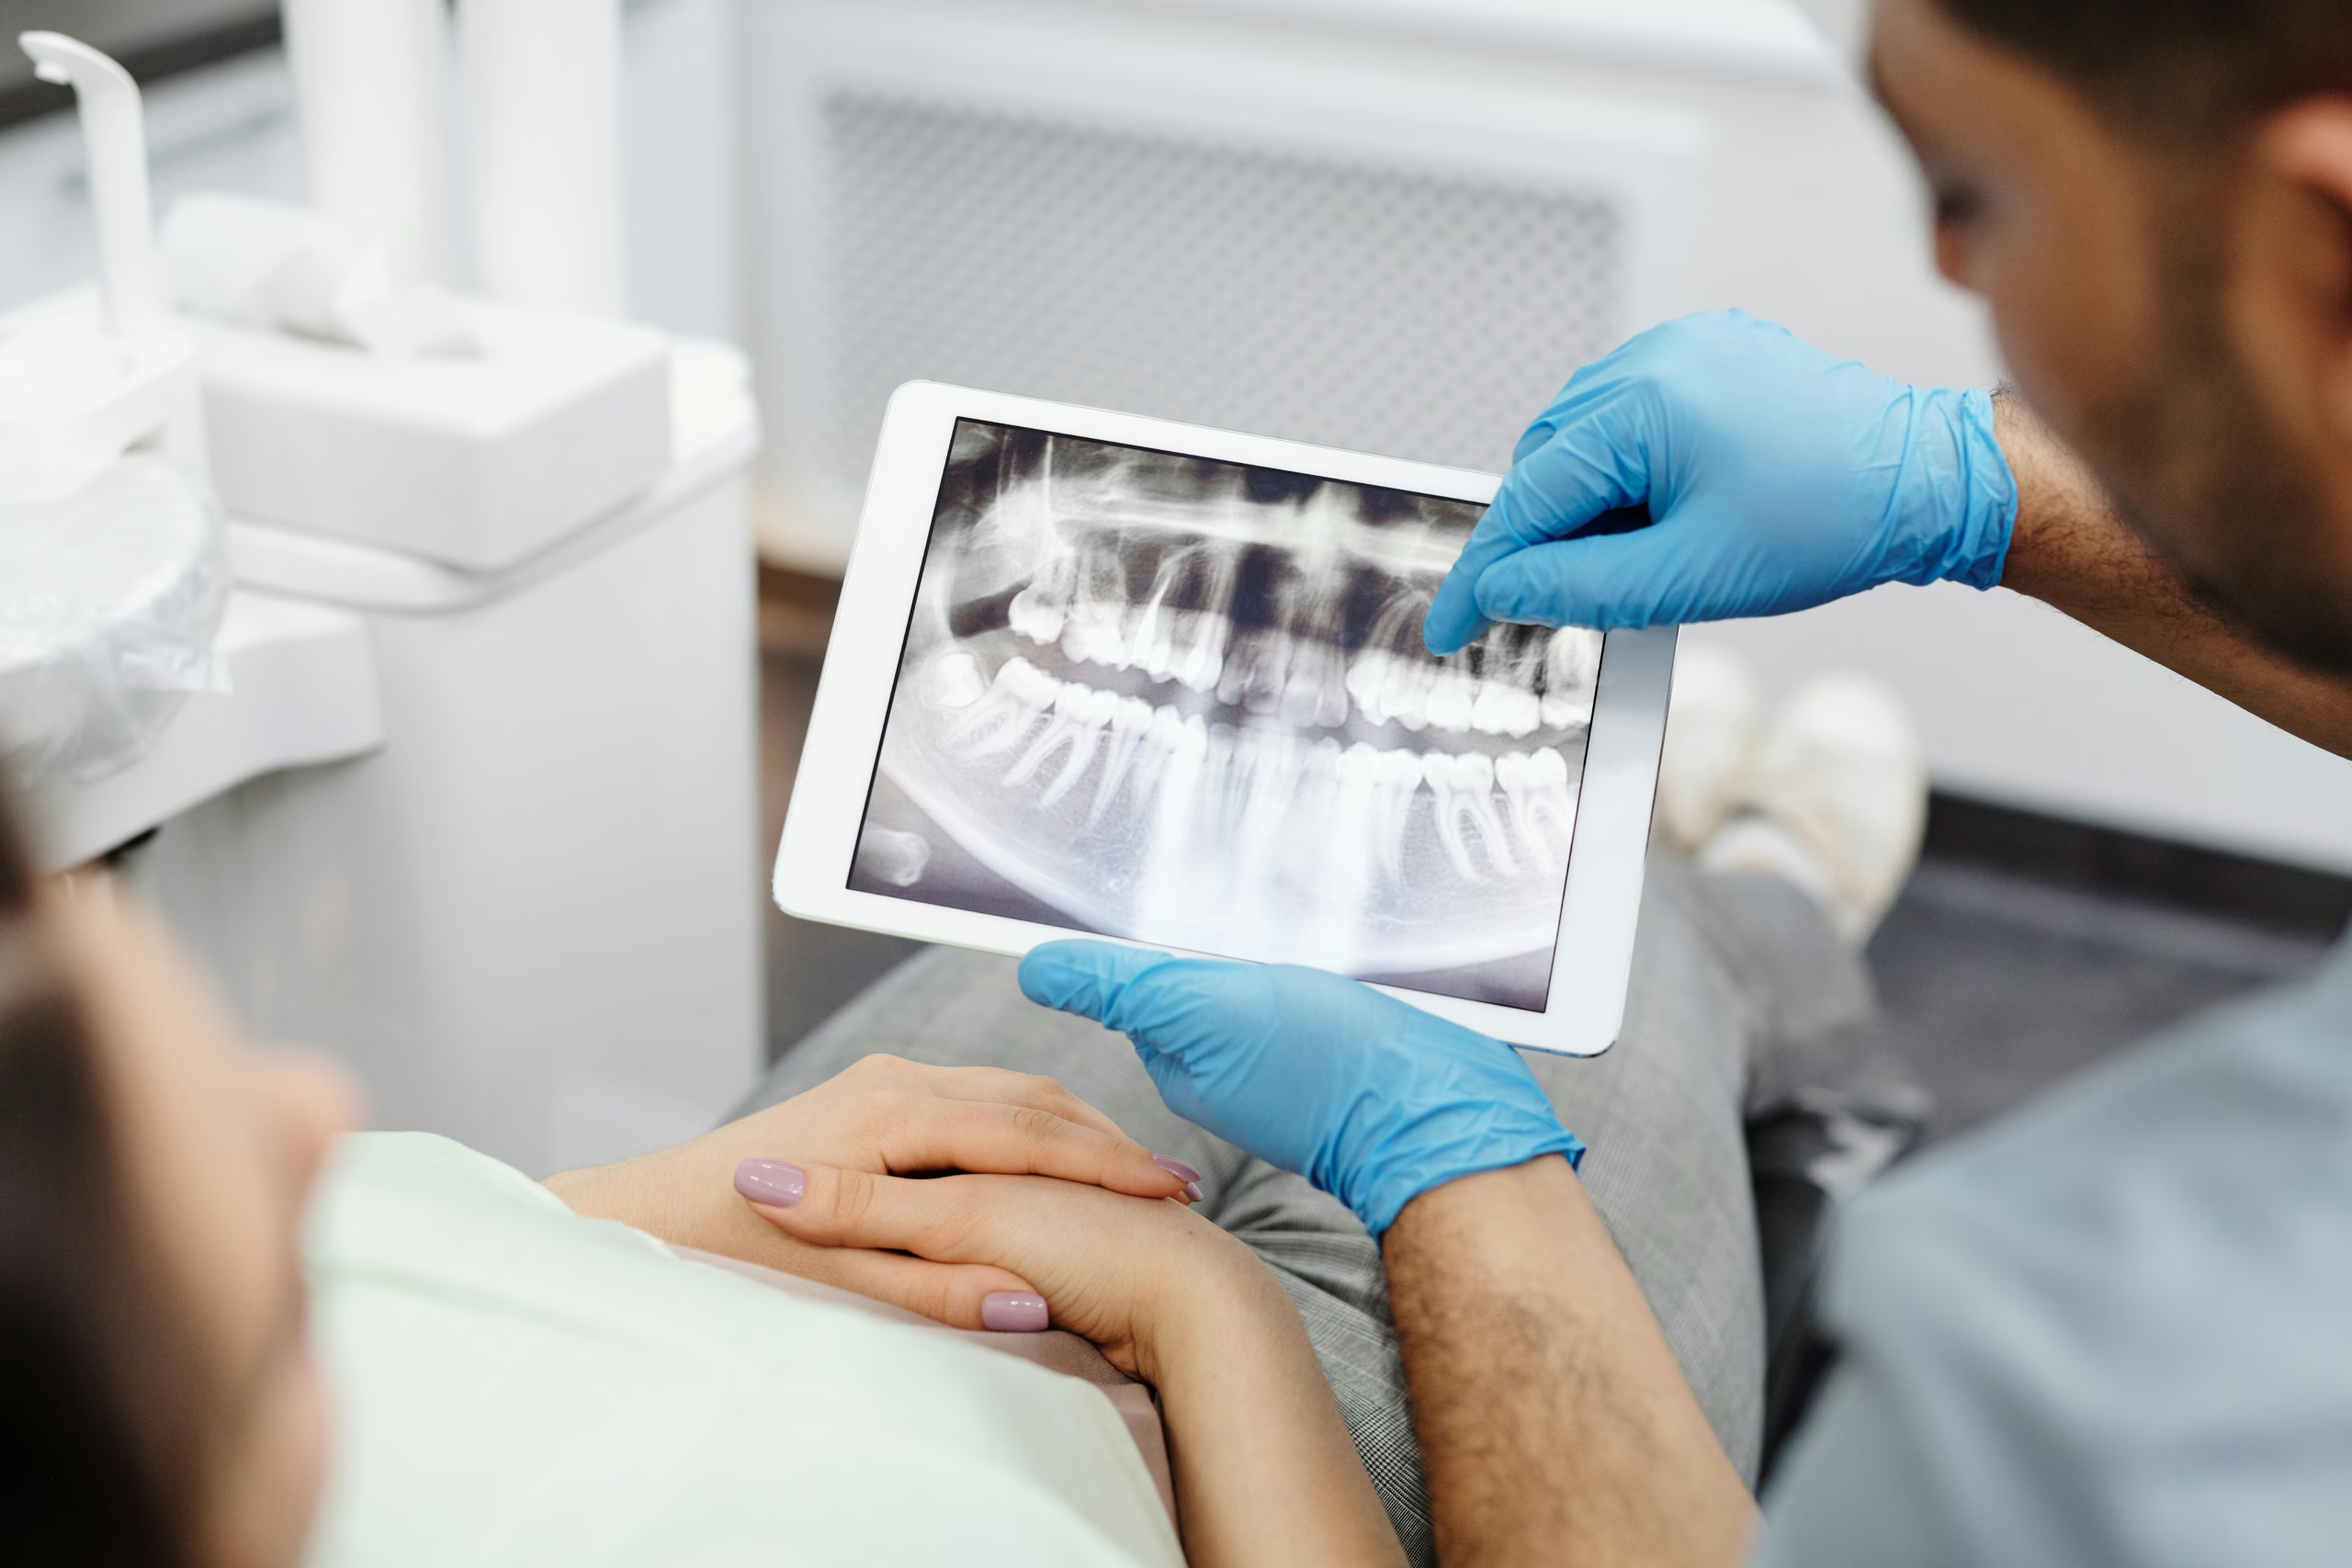
If you find yourself struggling, especially if you have braces or aligners, a virtual consultation can be a game-changer. A professional from Toothfairy can give you personalised advice and visual feedback, ensuring you’re getting the most from your daily routine and protecting your smile.
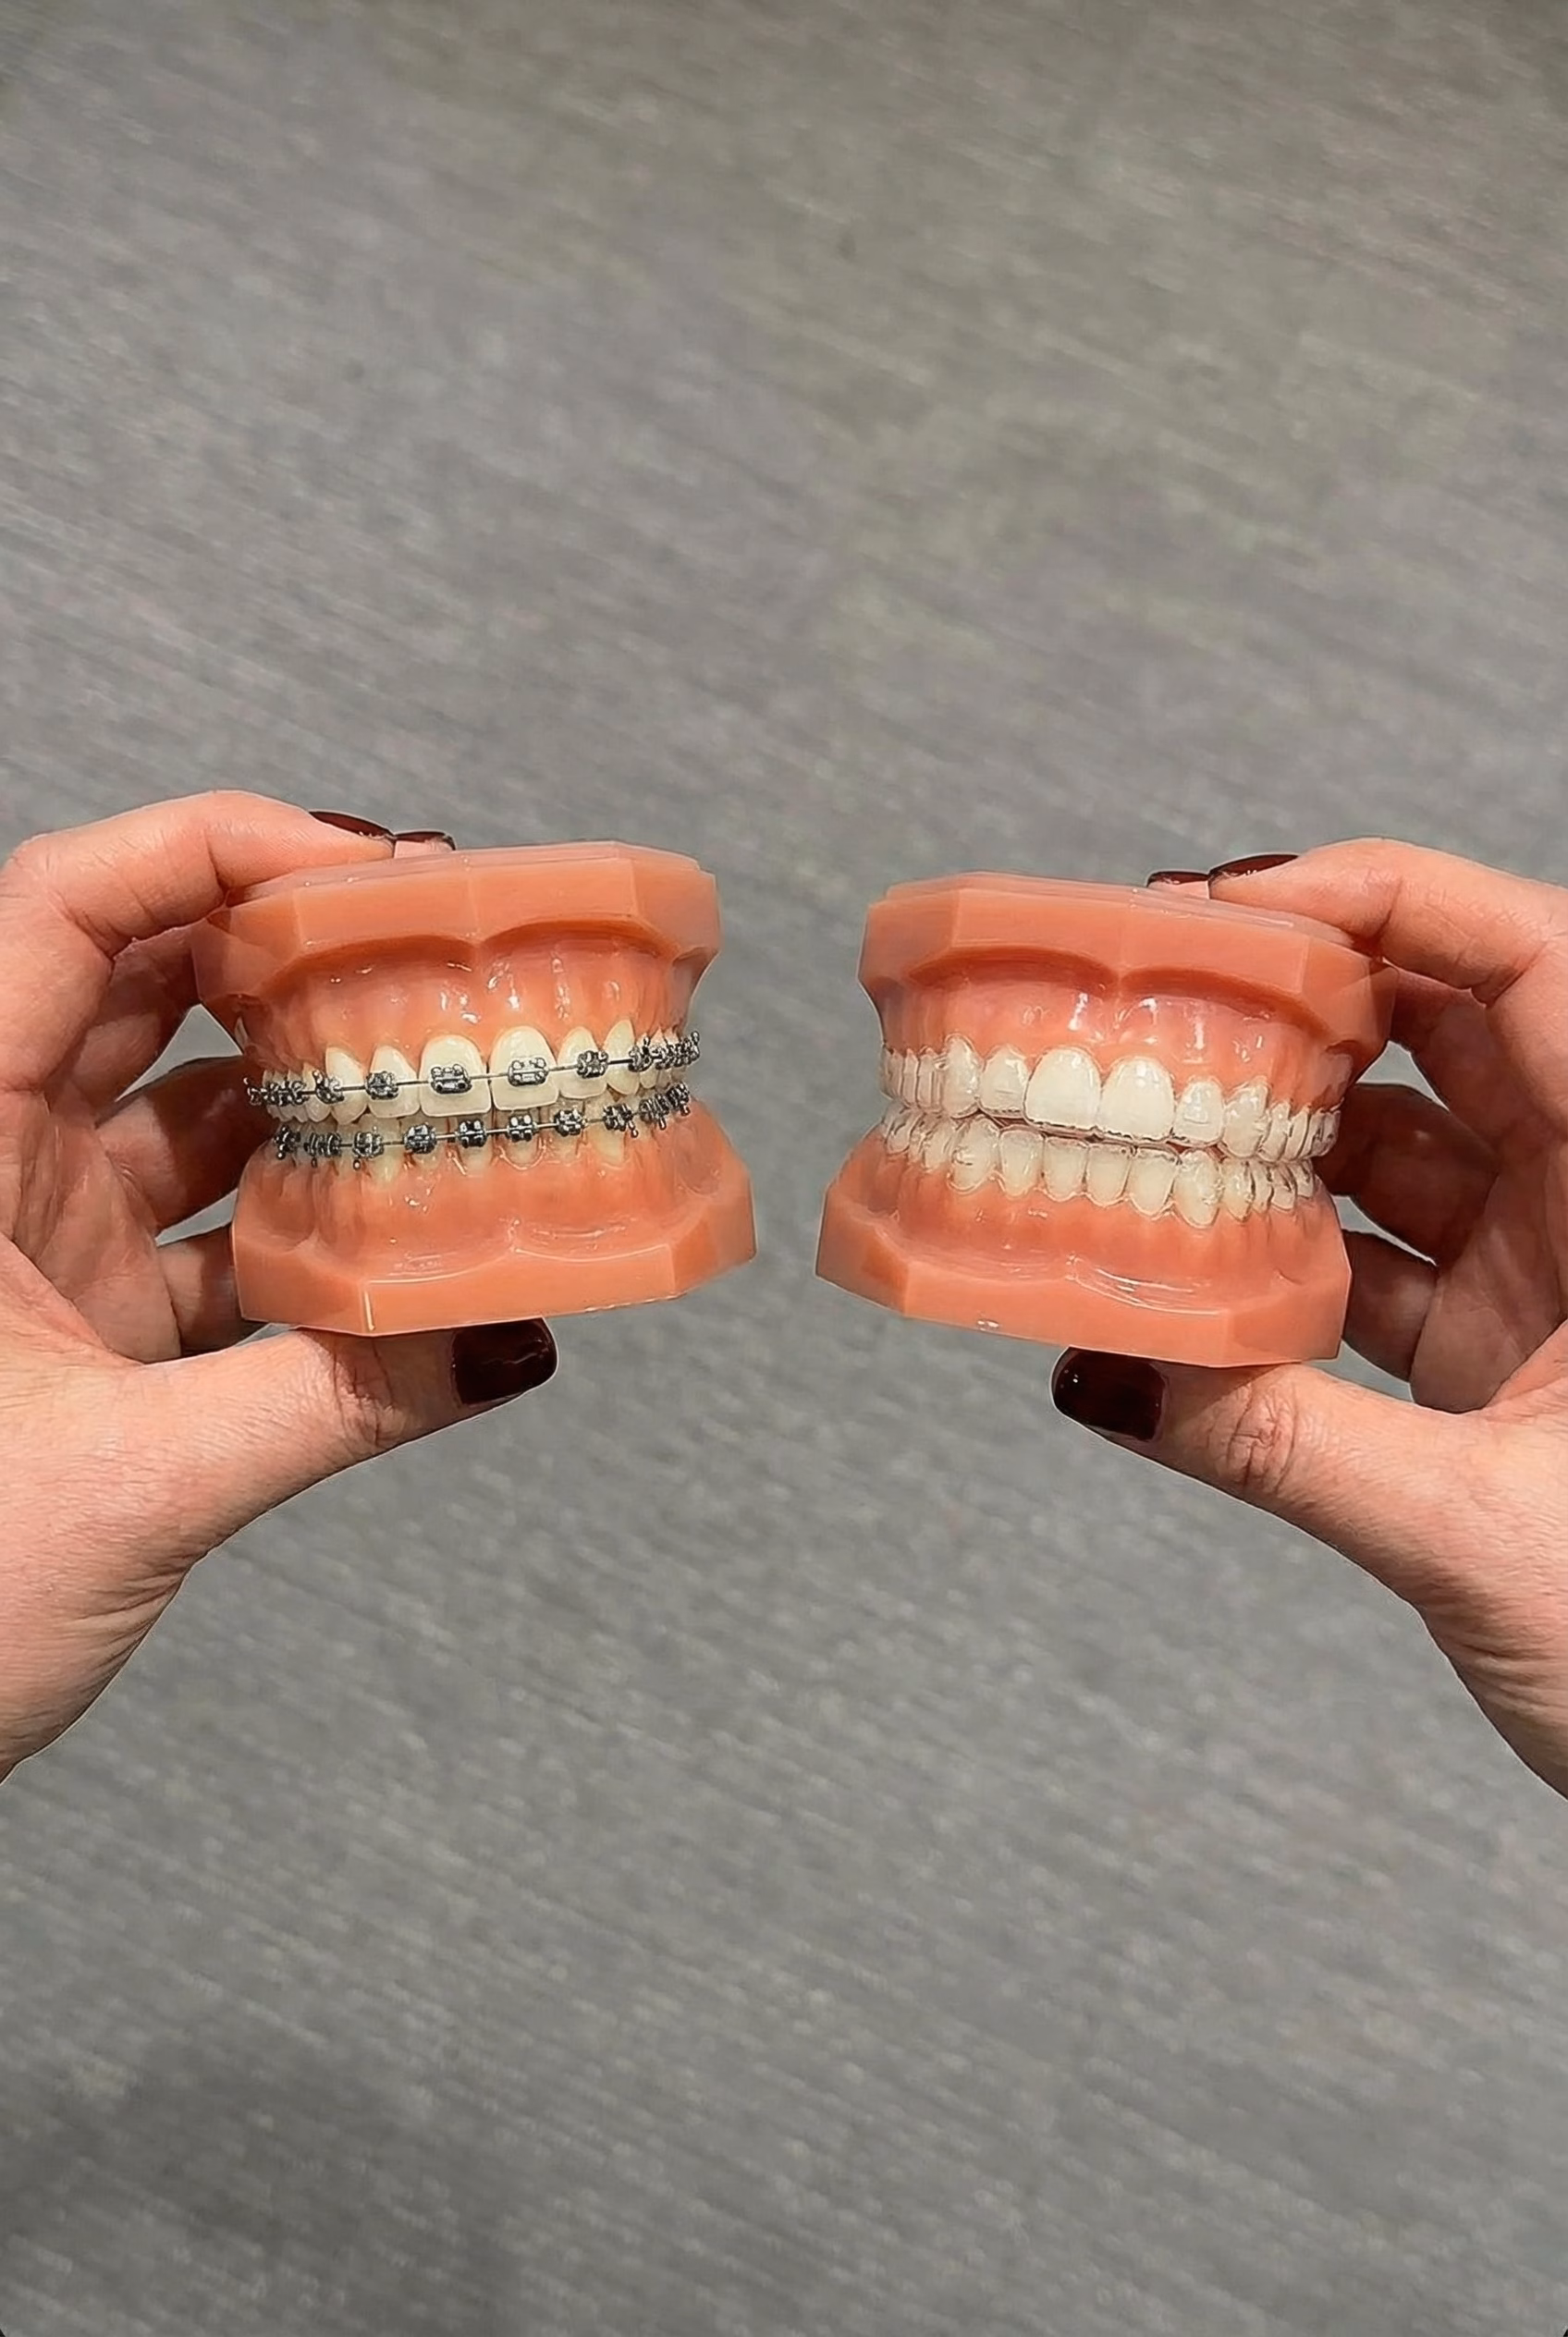
Flossing with Braces, Implants, or Aligners
Learning to floss properly is a challenge on its own. But throw in braces, implants, or aligners, and it can suddenly feel like navigating an obstacle course. Standard techniques often don’t cut it when wires, posts, and trays get in the way.
Don’t worry—with the right tools and a little patience, you can absolutely keep your smile healthy. Protecting your investment in orthodontic treatment or dental restorations isn’t just a suggestion; it’s essential. Plaque will happily build up in all those new, hard-to-reach places, so let’s look at some specialised strategies.
Navigating Traditional Braces
Metal or ceramic braces create a maze of wires and brackets that trap food like nothing else. Trying to force string floss between your teeth is nearly impossible and incredibly frustrating.
This is where a floss threader becomes your best friend. It’s a simple tool: a small, flexible plastic loop that works like a needle’s eye. You just thread about 18 inches of your floss through the loop, then guide the plastic tip underneath your archwire. Once it’s through, you can floss the sides of both teeth and under the gumline as you normally would.
It takes a bit of practice, but it’s a game-changer. Just remember to be gentle around the brackets themselves. If threading feels too fiddly, a water flosser is a fantastic alternative. It can power-wash debris from around brackets and under wires, making the job much quicker.
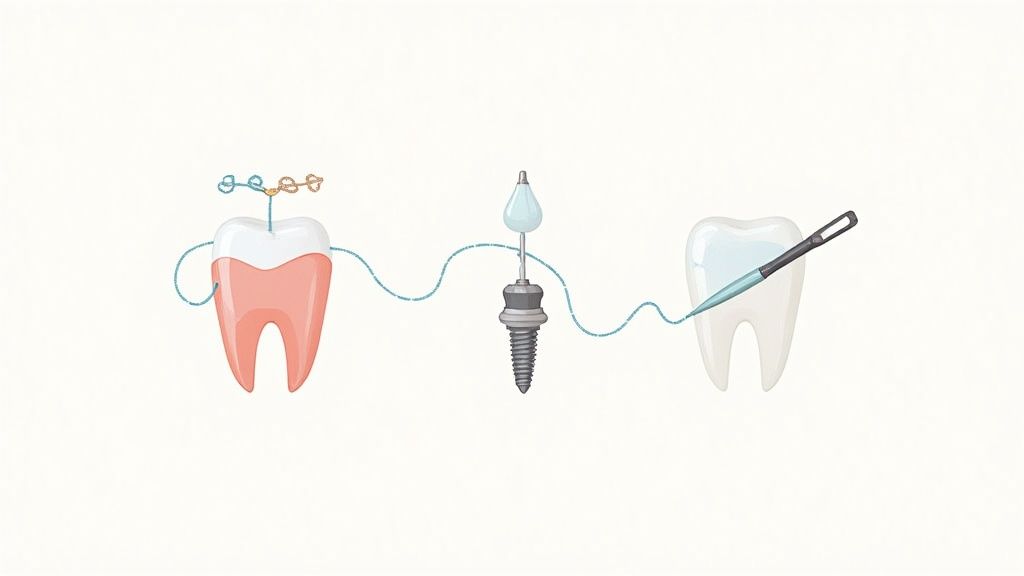
Cleaning Around Dental Implants and Bridges
Dental implants and bridges are brilliant for restoring a smile, but they need a unique cleaning approach. The area where the restoration meets the gumline is a critical zone for plaque buildup.
For these, you might need a specialised tool called super floss. This clever product comes in pre-cut strands with three distinct sections:
- A stiffened end to easily thread it under a bridge or around an implant.
- A spongy, thicker section designed to wipe plaque from wider surfaces.
- A regular floss section for cleaning against your natural teeth.
To use it, guide the stiff end under your bridge or around the implant post. Use the spongy part in a gentle back-and-forth motion to clean the underside of the artificial tooth and the sides of the adjacent teeth. This ensures the entire area stays free from harmful bacteria.
Flossing with Clear Aligners
Clear aligners are a discreet way to straighten teeth, but they demand rigorous hygiene. While they are more convenient for cleaning than fixed braces, the trays can trap anything left behind after a meal—saliva, sugar, and bacteria—right against your enamel.
This creates the perfect environment for cavities. That’s why it is absolutely critical to brush and floss your teeth every single time before you put your aligners back in. No exceptions.
Think of your aligners as a sealed container. Flossing before you put them back in ensures you aren’t sealing harmful plaque and food particles against your teeth for hours at a time.
This diligent routine is the key to protecting your teeth throughout your treatment. Overlooking this step can lead to decay and gum issues, potentially delaying your progress. At Toothfairy, we guide our aligner patients on creating a simple but effective hygiene routine to ensure their treatment is a success from start to finish.
Ultimately, achieving a straighter smile makes daily cleaning much easier in the long run. Well-aligned teeth have fewer tight, crooked spaces where plaque can hide. Whether you’re considering affordable aligners or need help with a dental emergency, accessible care from Toothfairy puts expert advice just a video call away.
Dealing with Common Flossing Problems
Even with the best intentions, starting a new flossing habit can come with a few hurdles. Bleeding gums, shredded floss, or general discomfort are common complaints, and they can be so discouraging that you might want to give up. But hang in there – these issues are almost always temporary and surprisingly easy to fix.
Think of this as your troubleshooting guide. Once you understand why these frustrations happen, you’re well on your way to making your daily flossing routine a smooth, painless success.
Why Are My Gums Bleeding When I Floss?
Seeing a bit of pink in the sink can be alarming, but it’s rarely a reason to panic. More often than not, bleeding is a sign of gingivitis, a mild form of gum inflammation caused by plaque that’s settled along the gumline. Essentially, your gums are sending you a signal that they need more attention, not less.
When you start flossing properly, you’re disrupting the bacteria that have been irritating the gum tissue, which can cause some initial bleeding. It’s a sign the floss is getting to places that have been neglected.
The trick is to be gentle but consistent. Keep up with your daily flossing, using the C-shape technique, and you’ll notice the bleeding will subside. Within a week or two, as your gums get healthier and stronger, it should stop altogether.
If you’re seeing a lot of blood or the bleeding doesn’t stop after a couple of weeks of regular flossing, it’s time to get a professional opinion. There might be an underlying issue that needs to be addressed. A quick video consultation with a Toothfairy dentist is a great way to get expert advice without even leaving your home.
Help! My Floss Keeps Tearing or Getting Stuck
Floss that constantly snags or shreds isn’t just annoying; it can be a clue about what’s going on between your teeth. If your teeth are very close together and you’re using a thin, unwaxed floss, it might just be the wrong tool for the job.
Here are a few things you can try right away:
- Change Your Floss: A waxed floss or a dental tape can make a world of difference. The waxy coating helps the floss glide through tight spots, while the wider, flatter shape of dental tape is less likely to catch and tear.
- Investigate Your Fillings: If the floss catches in the same spot every single time, it could be a sign of a problem, like a rough edge on an old filling or the beginning of a cavity.
- Don’t Force It: Whatever you do, never yank stuck floss. Gently let go of one end and pull the strand out sideways from between your teeth.
A persistent snag is your mouth’s way of telling you to book a check-up. Ignoring it could let a small issue turn into a much bigger one.
The consequences of skipping on good oral hygiene, including flossing, are bigger than you might think. In the UK, the NHS spends around £3.4 billion a year on dental care, and something as seemingly simple as a child’s tooth extraction can cost about £850. These numbers really drive home how important preventative habits are for avoiding more serious and expensive treatments. You can find out more about the economic impact of dental care in the UK.
Your Flossing Questions Answered
Even with the best technique, practical questions always crop up when you try to make flossing a daily habit. That’s completely normal. Nailing down these little details is often the final piece of the puzzle for building a confident, effective routine that actually sticks.
Let’s clear up some of the most common questions we hear from patients. Think of this as your quick-reference guide to fine-tune your flossing and make sure you’re getting the most out of your efforts.
Should I Floss Before or After Brushing?
This is probably the most-asked question in dental hygiene, but the professional consensus is pretty clear. For the best results, you should floss before you brush.
The logic is straightforward. Flossing first loosens all the plaque and food bits wedged between your teeth. When you follow up with your toothbrush, you’re not just sweeping away that loosened debris; you’re also giving the fluoride in your toothpaste a clear path to reach those freshly cleaned surfaces.
That said, the most important thing is doing it at all. If you genuinely prefer to floss after brushing and that’s the only way you’ll stick with it, that’s far better than skipping it. The best routine is always the one you do every single day.
How Often Should I Actually Floss?
The gold standard for flossing is at least once a day. There’s no need to overdo it. Once is usually enough to disrupt the plaque that has formed over the last 24 hours.
Most people find that flossing at night before bed works best. This routine clears out all the debris from the day’s meals and ensures your mouth is as clean as possible while you sleep—a time when saliva production, your mouth’s natural cleaning agent, slows down. Unless you have something uncomfortably stuck between your teeth, one thorough session is all you need.
Why Do My Gums Bleed When I Start Flossing?
It’s definitely unsettling to see blood when you start flossing, but it’s incredibly common and usually doesn’t mean you’re hurting yourself. In most cases, it’s a sign of mild gum inflammation, or gingivitis, which happens when plaque buildup irritates the delicate gum tissue.
Don’t let a little bleeding put you off! It’s your body’s signal that those areas need more attention, not less. Gentle, consistent flossing removes the plaque causing the irritation. As your gums get healthier, the bleeding should stop within a week or two.
If the bleeding is heavy or continues for more than a couple of weeks, it’s a good idea to get it checked out. A quick and easy video consultation through Toothfairy’s platform can help determine if there’s a more serious issue that needs addressing.
Can I Reuse Floss or a Floss Pick?
It might be tempting, especially with floss picks, but the answer is a firm no. Reusing a piece of floss is simply unhygienic. You’re essentially just moving bacteria from one part of your mouth to another.
On top of that, used floss loses its texture and becomes much less effective at scraping away plaque. Using the same floss pick for your entire mouth just ends up spreading that plaque around. For the cleanest, most effective result, always start with a fresh piece of floss or a new pick for every single session. It’s a small detail that makes a huge difference.
Beyond personal flossing techniques, dental professionals seeking to expand their reach and educate more patients on oral hygiene can explore specialised marketing guides. There are many excellent resources, including detailed articles on SEO strategies for dental practices, that can help clinics connect with the communities they serve.
At Toothfairy, we’re committed to making expert dental care accessible and affordable for everyone in the UK. Whether you need guidance on your daily routine, are considering cosmetic work, or need urgent help with a dental emergency, our app connects you with qualified dentists instantly. Take control of your oral health today. Learn more at https://www.toothfairyapp.co.uk.
Last updated on November 25, 2025

Toothfairy Care Team
Toothfairy, is the world's smartest dental app, that connects patients to a dentist for a range of issues, from emergencies, cosmetics, prescriptions to virtual exams.
Toothfairy Care Team
Toothfairy, is the world's smartest dental app, that connects patients to a dentist for a range of issues, from emergencies, cosmetics, prescriptions to virtual exams.